Contents List
Today, I am here with the guide on How to install android in virtual box? You can install any android version. However, the most recent version is Noughat 7.0. If you want to use Android on your computer, then you can simply install android in VirtualBox and access the Android functions there. You will get the complete experience of android on your pc as you get on the phone. It is an easy task to install android in VirtualBox. You can do it within few minutes with our guide below. There are a lot of cool and awesome features in android. You can enjoy these features on your PC by installing Android in VirtualBox. Follow the below-given steps to install android in VirtualBox.
There are two things you need as requirements. I am also sharing the link for both of the things so you can get them directly from this article.
- Android x86 ISO: You should have the Android x86 ISO file for your desired Android version. You can use any version of Android. Currently, Nougat 7.0 is the latest version.
- VirtualBox: The second thing is VirtualBox. It is necessary for installing Android in PC. Download VirtualBox.
- Before starting, make sure virtualization options are enabled on your PC. You can find the process to do so on Google. It is important otherwise you might face trouble later.
So, let’s jump to guide to install android in VirtualBox.
How to Create Virtual Machine for Android
- First of all, open the virtual box and click on the New button on top to create a virtual machine.

- Name the virtual machine: Android, select type as Linux and version Linux 2.6 / 3.x / 4.x (32-bit). And then click on next.

- Choose at least 1 GB of RAM so you can run apps easily. If you are using 32-bit build android, set memory to 2 GB. For 64- bit you can use more memory. Then click Next.
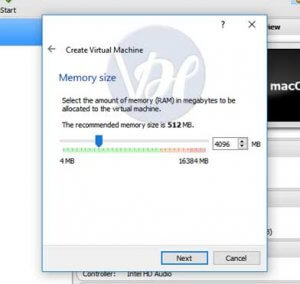
- Select “Create a virtual hard disk now” and click “Create.”
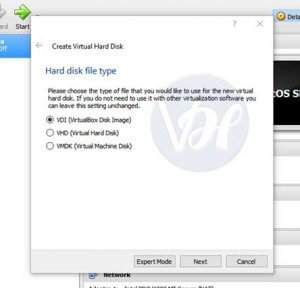
- For hard disk file type, choose VDI and then click Next.
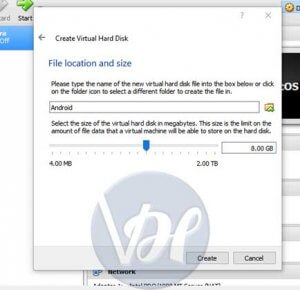
- Leave the hard disk size to Dynamically Allocated. Now choose the maximum storage you would like to have the virtual machine. Choose any size according to you.
- Click on Create button. That’s it. Your virtual machine is ready now.
How to Install Android in Virtual Machine
- First, select the virtual machine and then click Start.
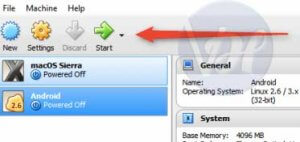
- As the virtual machine starts, set it to Android ISO, you downloaded earlier. If it does not ask you to choose this, go to Devices>>Optical Drives>>Choose Disk Image and select Android ISO. Then, go to Machine>>Reset to start virtual machine again.
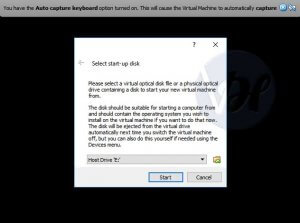
- As you will click on VirtualBox window, it will capture mouse and keyboard. Tap the right Ctrl key to release.
- As the virtual machine loads the ISO, scroll down using the keyboard for Installation. Then press Enter. Android installer will start working.
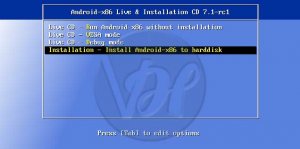
- As the virtual machine loads the ISO, scroll down using the keyboard for Installation. Then press Enter. Android installer will start working.
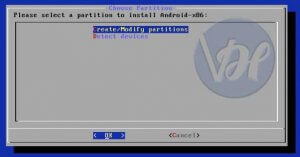
- Now, choose to Create/Modify partitions. On GPT screen, select no.
- Next, on the disk utility screen, choose the new option.
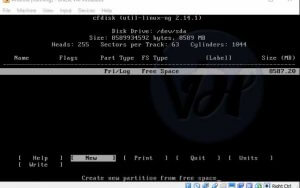
- Create a primary disk and avow it to use whole disk space, you choose earlier. I selected 8 GB, so it is selected as default.
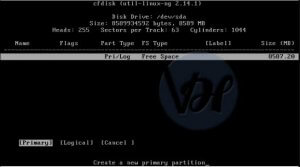
- Tap enter on Bootable option. Then scroll to Write and tap enter.
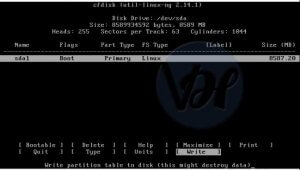
- On the next screen, type YES and tap enter, this is to verify that you want to write the partition table to disk.
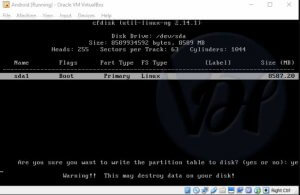
- After completing above steps, choose Quit and hit the enter key.
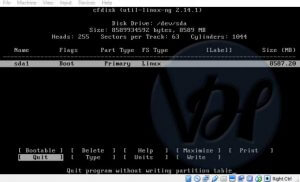
- Select the partition you created to install android and hit enter.
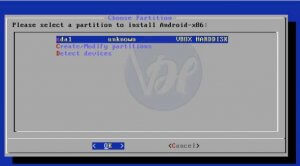
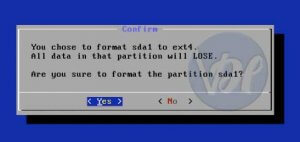
- Select ext4 to erase the partition. Then choose YES and tap enter to verify your action on next screen.
- Then choose YES to install GRUB and Bootloader.

- On the following screen, highlight YES to make the folder: /system re-writeable.
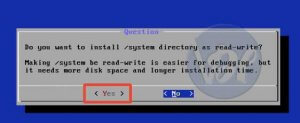
- Once it is done, choose to reboot into Android or reset. You can do anything now but make sure you unmount the ISO file first. If you don’t do so, it will boot back to the installer.
Using Android in VirtualBox
The following process is just easy now. You can setup it like any android phone. Don’t turn Wi-fi on. The virtual machine will use PC’s connection.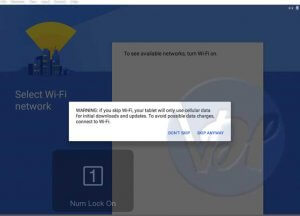
Just sign into Android, and you are ready to run Android in VirtualBox.
Conclusion
Given trick is the fastest way you can use to install android in VirtualBox. However, if you only want to run two or three apps in your PC, then Bluestacks is the fastest and best for you. But if you want to access the whole android system on your PC then Android x86 is what you are looking for, it is an excellent way to access all your mobile systems in pc or laptop.