Contents List
Nowadays, gaming is much more social than just inviting your friends over to play the mortal combat. In the today world, You can share every game you play online with hundreds of people with just a single click. But, you must be thinking that how it’s possible? Then, here is the step by step procedure to record your gaming experience and stream on Twitch.
How to Stream on Twitch?
Twitch is the world’s largest destination where you can broadcast your gaming experience with over 100 million users each month. It has more than 2 million monthly broadcasters who stream their favorite games online. All you need is decent hardware, any online broadcaster program and a free twitch account. So, here the steps which you need to follow to start streaming on twitch:-
Also Read:- How to Enable Reddit NSFW Content on Reddit
Setting Up the Twitch Page
- First of all, you need to install an open broadcaster software on your pc. The two most commonly used broadcasting apps are Open Broadcaster Software and Xsplit, which are available both for the Windows and Mac users.
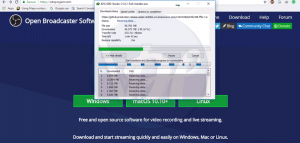
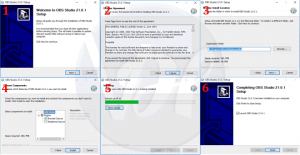
- Then install it.
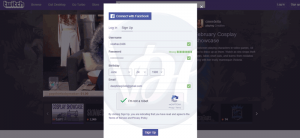
- After that, just go to twitch.tv and create a free twitch account.
- Now go to the twitch dashboard by clicking this link.
- Now, search and select the game you want to play. And Enter a title for the broadcast. And then click update.
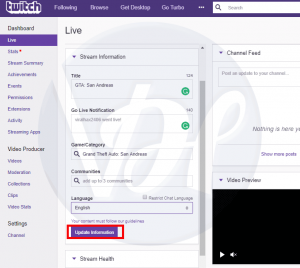
That’s it! Above are the steps to set up your twitch page. After setting up your twitch page, you need to configure your stream and here are the steps that you need to follow to configure the stream:
Also Read:- How to Make Your Internet Faster (5 Ways)
How to Configure the Stream Using the Open Broadcaster Software?
- Firstly, open your twitch account.
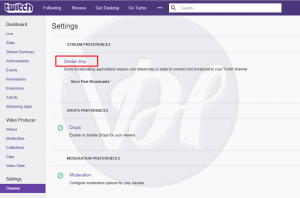
- Then go to Channel from the left pane. And click Stream Key.
- Then click Show Key.
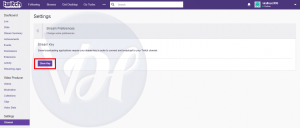
- And then click I Understand.

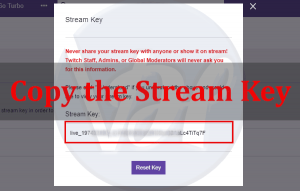
- Now copy the Stream key.
- Then open the OBS program that you have downloaded before and select settings from File menu.
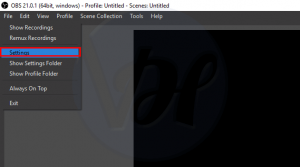
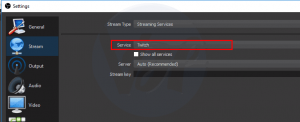
- Then go to the Stream option. And select Twitch as the streaming service.
- Copy the code and paste it into the stream key box.
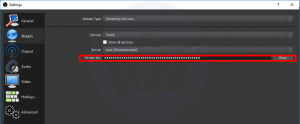
- And Click OK.
Also Read:- How to Enable WebGL in My Chrome & Other Browsers
Setting the Stream and Going Live
1. In the OBS Dashboard, just right click on the Sources Box or Screen>Select Add>Game Capture.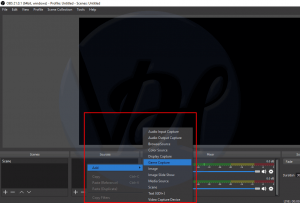
2. After that, Select your favorite game from the drop-down list and click OK.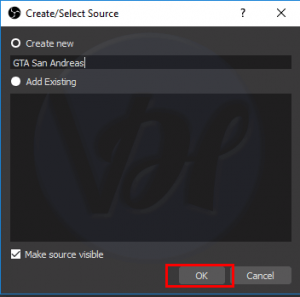
3. Now, Just click the stream settings icon and select any additional feeds you want to add to customize the layout. Also, you can use the monitor capture to display anything on the screen or use the video capture to record using the webcam.
4. Select the Preview Stream option and edit the stream layout according to your liking.
5. Now, Just Select Start Streaming, and you’ll be live on Twitch.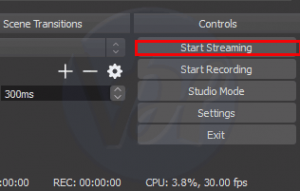
Conclusion
That’s it! These are the steps that you need to follow to record and share your gameplay videos with the whole world. I hope this post helped you to get the required information that you are looking for. If this helped you, then just share it with your friends, family, and relatives. Also, if you have any doubts or questions, then feel free to share them with us through the comment section below.